Image Source – Google
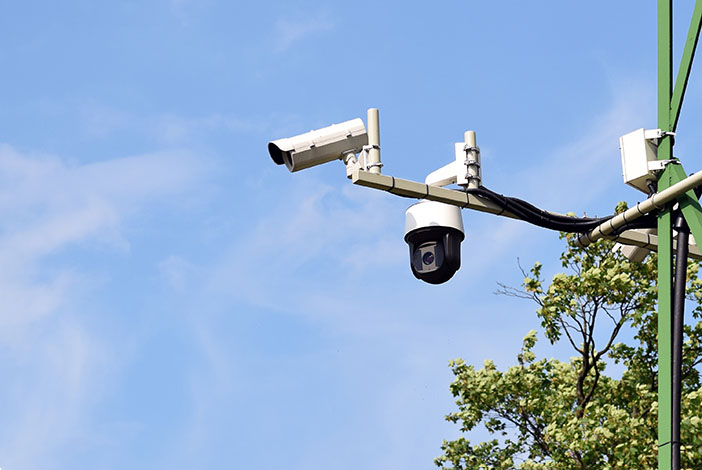
PTZ (Pan, Tilt, Zoom) cameras are widely used in surveillance systems due to their ability to cover a large area and provide flexible monitoring options. Installing a PTZ camera may seem challenging, but with the right knowledge and guidance, it can be a straightforward process. This step-by-step guide will help you master the installation of PTZ cameras effectively.
Step 1: Planning the Installation
Considerations:
- Determine the areas you want to monitor and the coverage required.
- Check for obstacles or obstructions that may affect the camera's view.
- Decide on the mounting location for the camera, ensuring it has a clear line of sight.
- Ensure there is a power source nearby for the camera to operate.
Step 2: Installing the Mounting Bracket
Steps:
- Securely attach the mounting bracket to the desired location using appropriate screws and anchors.
- Ensure the bracket is level to avoid any issues with the camera's positioning later on.
- Check the stability of the bracket to support the weight of the PTZ camera.
Step 3: Mounting the PTZ Camera
Instructions:
- Fix the PTZ camera onto the mounting bracket, following the manufacturer's guidelines.
- Secure the camera in place using the provided screws or locking mechanisms.
- Ensure the camera is positioned correctly for optimal coverage of the monitoring area.
Step 4: Connecting the Cables
Process:
- Connect the power cable of the PTZ camera to a nearby power source or a compatible power adapter.
- Run the necessary cables (such as Ethernet or coaxial cables) from the camera to the recording device or monitoring station.
- Ensure the cables are properly secured to prevent any accidental disconnection.
Step 5: Configuring the PTZ Camera
Settings:
- Access the camera's configuration settings using a web browser or dedicated software provided by the manufacturer.
- Adjust the pan, tilt, and zoom settings to optimize the camera's viewing angle and coverage.
- Set up motion detection, presets, and other features according to your surveillance needs.
Step 6: Testing and Calibration
Procedures:
- Verify the camera's functionality by testing the pan, tilt, and zoom capabilities.
- Check the camera's image quality and adjust settings if necessary for better clarity.
- Calibrate the PTZ camera to ensure smooth and accurate movements during monitoring.
Step 7: Integration with Surveillance System
Integration:
- Connect the PTZ camera to your existing surveillance system or NVR (Network Video Recorder).
- Ensure the camera is recognized and accessible through the monitoring software or app.
- Test the camera's functionality within the surveillance system to ensure seamless operation.
Conclusion
By following this step-by-step guide, you can effectively master the installation of PTZ cameras for your surveillance needs. Proper planning, installation, configuration, and testing are crucial in ensuring the optimal performance of your PTZ camera system. Remember to consult the manufacturer's guidelines and seek professional assistance if needed to guarantee a successful installation.